Instrukcja obsługi ConsoleCTI ustawienia programu/en: Różnice pomiędzy wersjami
(→Calls) |
(→Connection) |
||
| Linia 3: | Linia 3: | ||
=== Connection === | === Connection === | ||
| − | <center>[[Plik:ConsoleCTI - ustawienia | + | <center>[[Plik:ConsoleCTI - ustawienia Połączenie_en.png]]</center> |
Visible fields needs to be filled to properly connect appliaction to PBX. "Phone number'' field is the extension number that will cooperate with ConsoleCTI. 'Phone password' field needs to be filled equally as in ConfigMAN ''Subscribers/CTI settings''. After first connection user will be promped to change the password. This password can be changed in every moment by selecting ''Change password''. The following window will pop up <br> | Visible fields needs to be filled to properly connect appliaction to PBX. "Phone number'' field is the extension number that will cooperate with ConsoleCTI. 'Phone password' field needs to be filled equally as in ConfigMAN ''Subscribers/CTI settings''. After first connection user will be promped to change the password. This password can be changed in every moment by selecting ''Change password''. The following window will pop up <br> | ||
| − | <center>[[Plik:ConsoleCTI - zmiana | + | <center>[[Plik:ConsoleCTI - zmiana hasła_en.png]]</center><br> |
User can remember the password in application. If the box ''Remember password'' will not be checked, after each start off the application, user will be asked to input it. IP address of the PBX need to be filled in ''Server address'' field. This address can be set manually or by selecting ''Find server''. All PBX's in local network will be displayed. After filling all windows, pressing ''Establish connection'' will connect ConsoleCTI to PBX, synchronize phone book and all other data for related to the subscriber. After successfully connecting to PBX, following text will be displayed: | User can remember the password in application. If the box ''Remember password'' will not be checked, after each start off the application, user will be asked to input it. IP address of the PBX need to be filled in ''Server address'' field. This address can be set manually or by selecting ''Find server''. All PBX's in local network will be displayed. After filling all windows, pressing ''Establish connection'' will connect ConsoleCTI to PBX, synchronize phone book and all other data for related to the subscriber. After successfully connecting to PBX, following text will be displayed: | ||
| − | <center>[[Plik:PhoneCTI Udane | + | <center>[[Plik:PhoneCTI Udane połączenie_en.PNG]]</center> |
If the data entered is incorrect at the bottom of the window will be displayed: | If the data entered is incorrect at the bottom of the window will be displayed: | ||
| − | <center>[[Plik:PhoneCTI Nieudane | + | <center>[[Plik:PhoneCTI Nieudane połączenie_en.PNG]]</center> |
At this time ''Change password'' link will change its name to ''Forgot password''. After clicking it, new window with webCTI will appear, where user can send password reminder to specified e-mail. | At this time ''Change password'' link will change its name to ''Forgot password''. After clicking it, new window with webCTI will appear, where user can send password reminder to specified e-mail. | ||
Wersja z 12:16, 9 sty 2014
Spis treści
Settings
Choose Program and Settings to see new window with tabs, that allows to change application parameters. Each Tab is explained below:
Connection

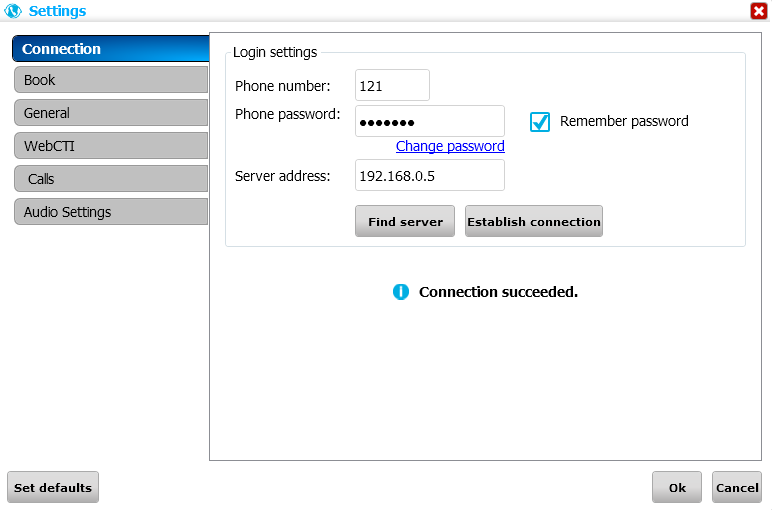
Visible fields needs to be filled to properly connect appliaction to PBX. "Phone number field is the extension number that will cooperate with ConsoleCTI. 'Phone password' field needs to be filled equally as in ConfigMAN Subscribers/CTI settings. After first connection user will be promped to change the password. This password can be changed in every moment by selecting Change password. The following window will pop up
User can remember the password in application. If the box Remember password will not be checked, after each start off the application, user will be asked to input it. IP address of the PBX need to be filled in Server address field. This address can be set manually or by selecting Find server. All PBX's in local network will be displayed. After filling all windows, pressing Establish connection will connect ConsoleCTI to PBX, synchronize phone book and all other data for related to the subscriber. After successfully connecting to PBX, following text will be displayed:
If the data entered is incorrect at the bottom of the window will be displayed:
At this time Change password link will change its name to Forgot password. After clicking it, new window with webCTI will appear, where user can send password reminder to specified e-mail.
Book
User can specify which phone book will be shown in Book Tab.
General

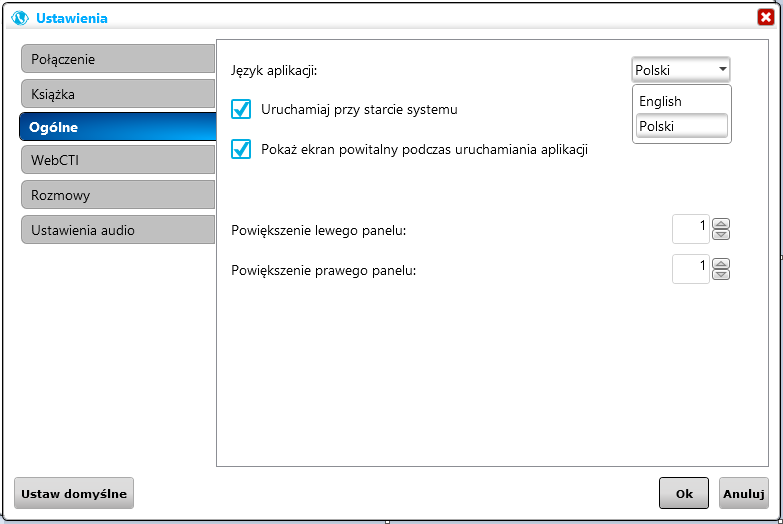
This tab allows us to change the language of application (needs restart), turning Autostart on Windows startup on or off, showing splash screen on application startup or size of right and left panel.
WebCTI

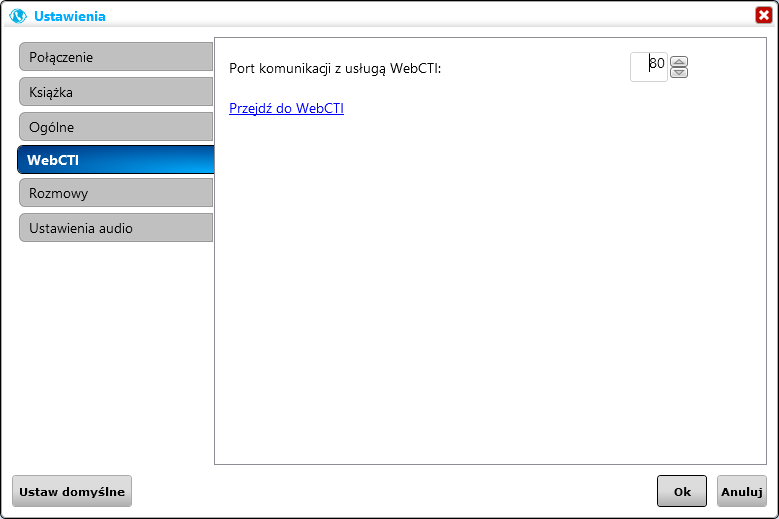
This tab allows user to change port number, that application logs into WebCTI - used in playing back recorded calls. This setting is used on remote connections (outside LAN). Link Go to WebCTI takes us to WebCTI applied in PBX.
Calls

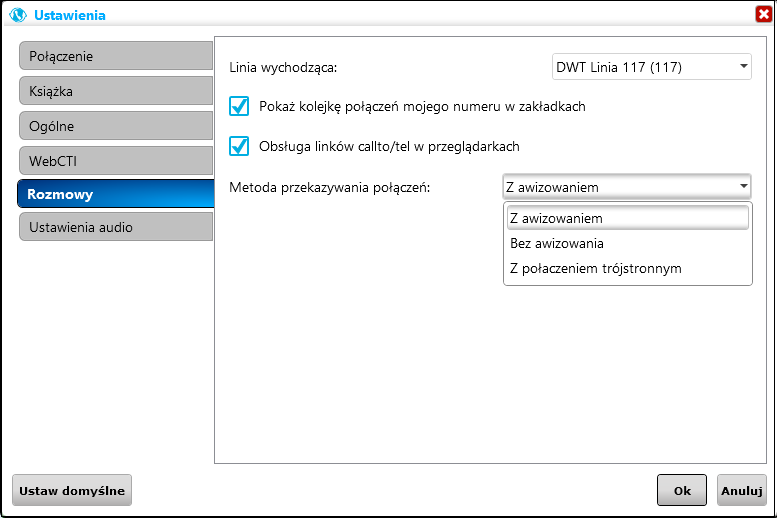
Here, user can define which number will be presented in outgoing traffic (Own Number or any defined line), show or hide Own Number queue, handle Callto and tel links in internet browser. User can pick one of three methods to transfer a call (with uprise, without uprise or 3PTY (three party) call.
Return